Deck.Toys includes built-in AI tools inside the Slide editor to help teachers turn a slide into questions, vocabulary work,...
Your Class's First Deck.Toys Lesson: Look Closely
 Boon Jin
Updated
A new class's first Deck.Toys lesson can start with a very small mystery: what ordinary object are we looking at? Students only need to notice a few details, make four matches and submit one sentence. The answer comes at the end.
This “Look closely” lesson is for students who can read short labels. Allow about 12–15 minutes after everyone has joined, with extra time for that first sign-in. The aim is to distinguish what we can see from what we think it might be.

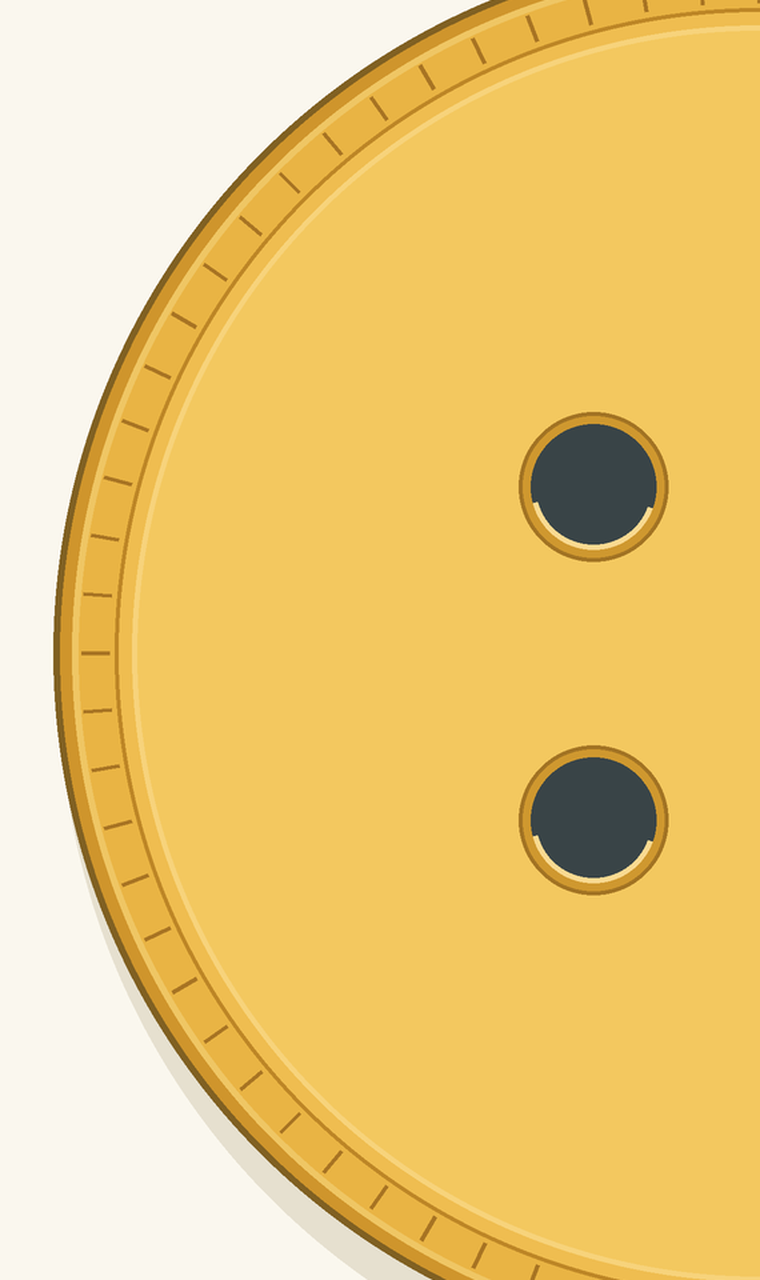
Use the unlabelled detail image in the student lesson so the class can name the clues themselves.
Build one route, with a clear ending
Use two Signposts, three Slide Activities and one Lines Study Set game. Connect them in this order and set the entry at START:
START → Look closely → Name the clues → Make a guess → Whole view → FINISH
The established Paths and Activities guide explains the entry path and Signposts. Here is all the lesson content to put on that route.
START — Signpost
Open Look closely. Notice two things you can see. Keep your guess to yourself for now.
Look closely — Slide Activity
Upload the unlabelled detail image. Add this instruction:
Look at this part of an object. Tell a partner two things you can see. Use “I can see…” rather than naming the object. Then follow the path to Name the clues.
Name the clues — Lines
Create a Study Set with these four pairs, then select Lines for the activity. Lines matches terms to their answers. The table is also your answer key.
| Term | Matching description |
|---|---|
| Colour | The surface is yellow. |
| Count | Two dark holes are visible. |
| Shape | The outside edge curves. |
| Pattern | Short lines run around the rim. |
Tell students: “Drag the dot beside each label to its matching description. Match all four, then open Make a guess.” These are descriptions of the cropped view. Avoid changing “two holes are visible” to “the object has two holes”; we have not seen the whole object yet.
Make a guess — Slide Activity with a Text App
Use the detail image again and add a Text response with this prompt:
What might the object be? Complete: “I think it is ___ because I can see ___.” Submit your sentence, then open Whole view.
Whole view — Slide Activity
Upload the reveal image below and add:
It is a button. Which detail in the whole view was missing from the close-up? Tell your partner.
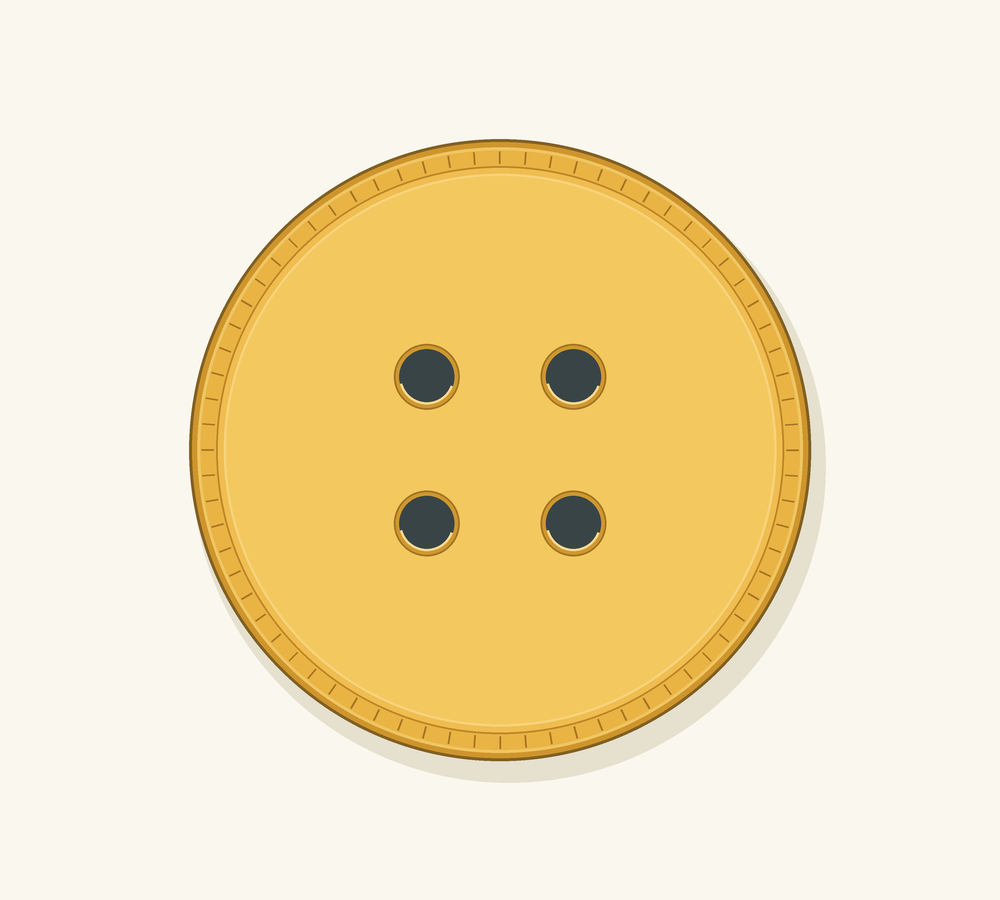
The whole-object reveal. Four holes are visible now; only two appeared in the detail. Download this reveal image.
FINISH — Signpost
You have finished Look closely. Leave your device open, take your hands off it and look towards the teacher. Be ready to share one clue you used.
Introduce it before devices take over
With screens lowered, show the map and say:
“Today we're trying our first Deck.Toys lesson. We'll look at part of an ordinary object, name the visible clues and make one guess. A guess can change. Your job is to show what made you think it.”
Assign the deck to your Classroom and share that Classroom URL, as described in the lesson setup guide. Show the sign-in method your school uses, then return to the map and point to START and FINISH. Say: “Open our Classroom link and use the sign-in method I have just shown you. Find START. Read its message before following the path.” Demonstrate one Lines match before students reach it.
Plan roughly three minutes for looking and talking, three for matching, three for the written guess, and three for the reveal and discussion. Treat those as planning allowances; pause to help students with the unfamiliar controls.
When reading the Text responses, separate the guess from its evidence. For example:
- “It's a button.” Ask: “Which visible clue made you think that?”
- “I think it is a wheel because I can see a curved edge.” The guess differs from the reveal, but the student supplied a visible clue. Ask what the whole view adds.
- “I think it is a button because I can see two holes and a curved edge.” Both clues refer to the detail. Now ask the student to update the hole count.
Finish by asking, “What could we say confidently before the reveal, and what can we say now?” The first lesson ends with something worth discussing, as well as a completed route.
Download the copy-ready lesson notes, including all prompts and the matching key. The printable observation sheet gives students the same task if they need a paper version.
