 Boon Jin
Teachers can upload, trim, manage, and reuse their own video files in Deck.Toys, then use those clips in interactive video...
Basic Escape Rooms with Deck.Toys
 June
June
Want your students to progress through a series of questions but won’t let them through the next slide unless they get it right? This is the makings of a basic escape room using Deck.Toys! We will show you how to build one in this blog post!
What’s an Escape Room?
An escape room, also known as a ‘breakout’, is where students must complete a series of tasks (digitally, physically or both) in order to retrieve clues and passwords, or gather other information needed to ‘breakout’ from the ‘room’. They cannot progress to the next activity unless they solve a particular problem. The problems can be made from any subject which makes escape rooms a highly sought after option to gamify education.
We can achieve this purpose by using Locks for escape rooms, which is to prevent students from moving on to the next activity in the deck unless the exact ‘key’ or passcode is found. In Deck.Toys, there are a multitude of Locks available for this purpose. There are lots to uncover in this ultimate guide to Locks: https://blog.deck.toys/lock-guide/. For this blog post, we will concentrate only on the simpler locks to start making your first basic escape room.
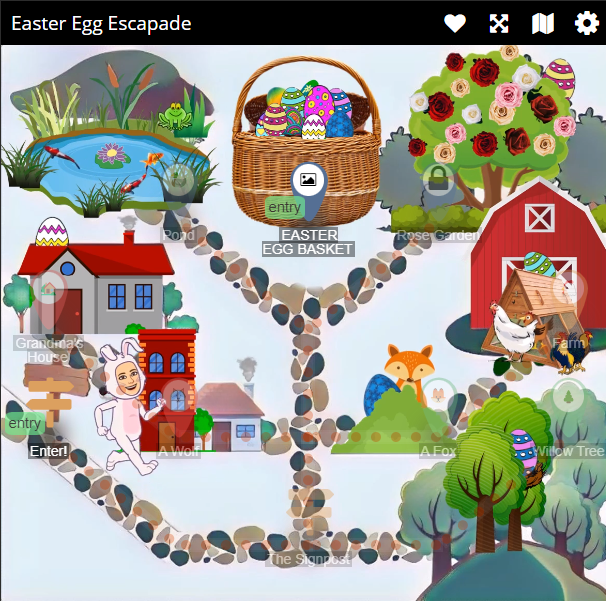
To whet your appetite, here’s a really fun example (but incorporating more complicated escape room locks) called Easter Egg Escapade, where students have to go through a series of questions related to Aesop’s fables and nursery rhymes in order to collect all the Easter Eggs in the basket to complete the challenge. https://deck.toys/a/Qkq235wR5
Building your first escape room
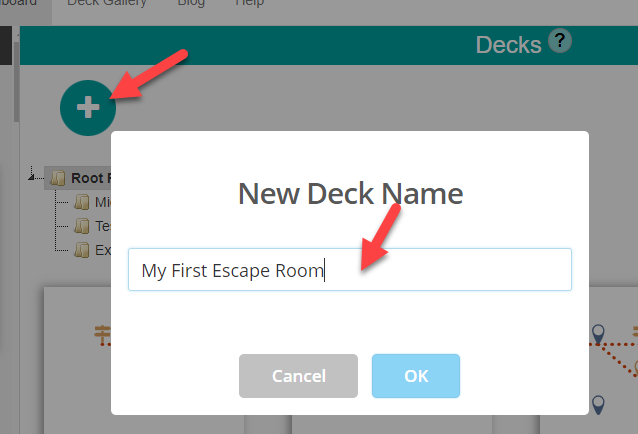
In your Deck.Toys Dashboard, click on the + sign to create a new deck or lesson. Then key in a name, let’s say “My First Escape Room”. A pop-up screen with the Learning Paths and Activities Wizard pops up – you may choose to close this screen if you do not require any pre-configured escape rooms.
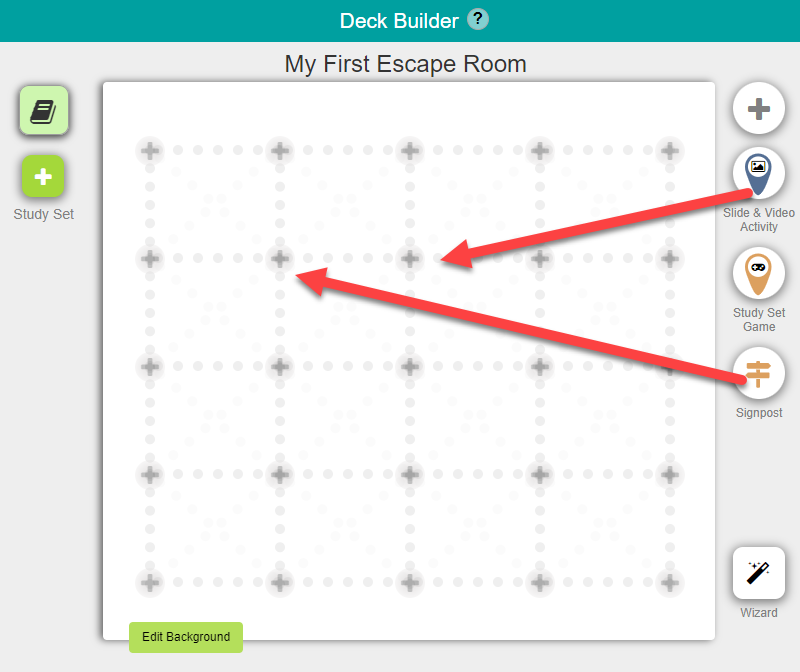
Next you will see the Deck Builder. Drag a Signpost and drag a Slide & Video Activity anywhere on the map.
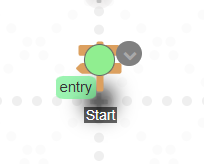
Click on the Signpost and put in an introductory message for your students. You can also include web links or GIFs here. Consider editing the name of the signpost to “START” or “ENTER” to indicate to your students that this is the start point.
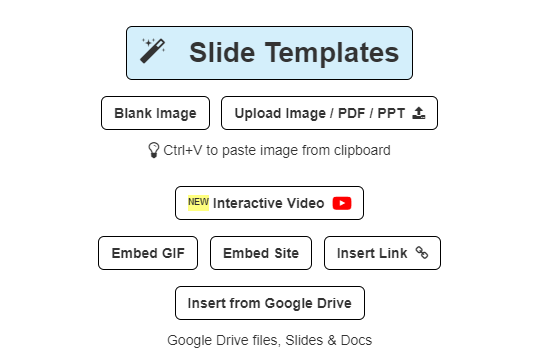
Next, click on the Slide & Video Activity icon in your Deck Builder. You can upload images/PDF/Powerpoint with the ‘Upload Image/PDF/PPT’ button. Alternatively copy-and-paste any of these materials directly with CTRL+V or drag-and-drop your files into the Slide Activity.
Using the Lock App
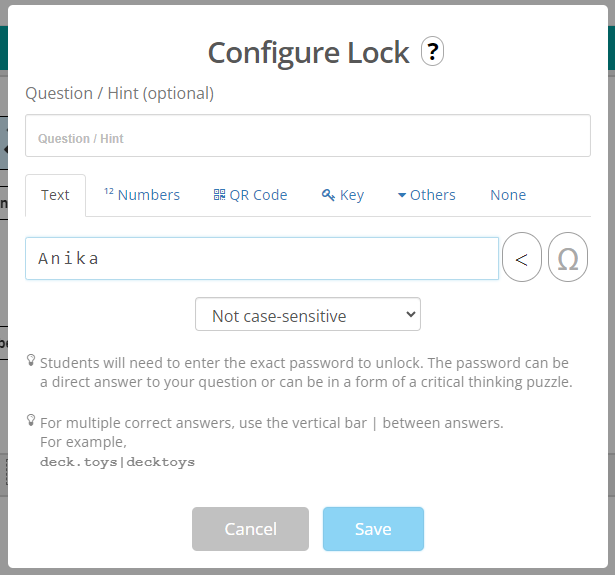
In this example, an image was already copied into the Slide & Video Activity, and you will now add a Lock App into the image as part of the escape room. We used the Text Lock App as students can type in the answer ‘Anika’. If he/she types in any other word or a wrong spelling like ‘Aneeka’, the student will not be able to progress to the next slide or activity.
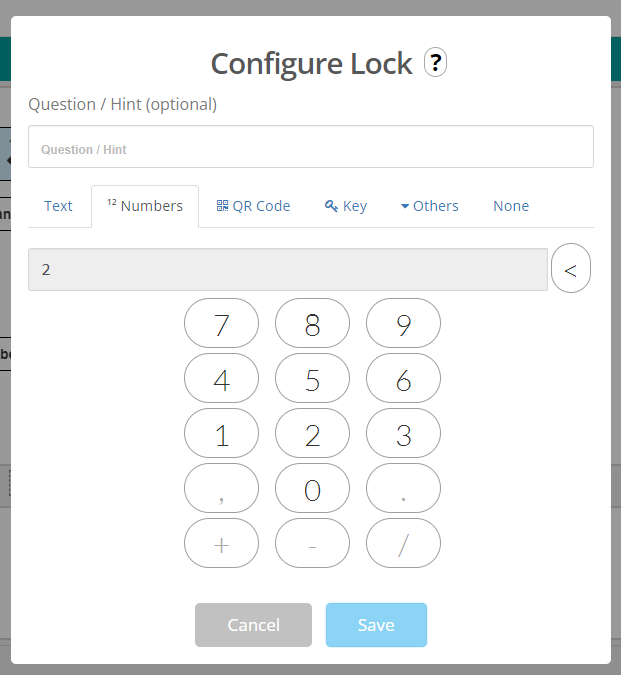
Another way is to use the Number Lock. In this lock, students can only key in numbers from the number pad, eliminating any ambiguity on spelling. When configuring the answer, input only the correct number, which in this case the answer is number 2 to represent Anika.
In this example, we have now added a second slide with another problem. We add a text lock for the student to solve before they can move on to the next activity. For teachers who are more experienced with Deck.Toys, you may want to consider using the MCQ Slide App as an alternative.
Linking all the activities into a complete escape room
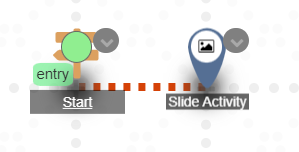
Now that you have built your problems within the Slide & Video Activity, you should link all your learning paths together i.e. from the START signpost to the Slide & Video Activity, and maybe another END signpost to congratulate your students for completing the task. Simple click on the grid line to make this into a path. You should see the word ‘entry’ highlighted to indicate that this is the starting point of your escape room, which should be a logical sequence for the students to follow.
Create an aura to the escape room
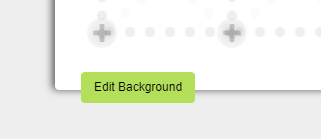
Before you share this escape room to your students, make sure you add a fun background to create the right atmosphere for your escape room. Click on ‘Edit Background’ at the bottom left of the Deck Builder and choose from the default graphics, or copy-and-paste (CTRL+V) your own image to be uploaded. Click the ‘Save and Exit Background Editor’ once you have completed. You can also upload videos as a background using the Deck Background Video function.
Share the Escape Room with your students
Before you share, it is a good idea to ‘Preview Deck’ as a student to go through the whole escape room to make sure all the locks are set correctly.
Once you are really satisfied that the escape room works well, assign this deck to your students following these 3 steps:
Step #1: Create a Deck.Toys Classroom
Step #2: Assign the deck to the Deck.Toys Classroom
Step #3: Share the Deck.Toys Classroom address/URL to your students. You can share this URL to any learning management system such as Google Classroom, Microsoft Teams, Canvas, Schoology and SLS.
That’s it! Your students can now play the escape room and you can track their progress in real-time! Read more here: https://help.deck.toys/article/12-0-quick-start-guide
I want to make more exciting escape rooms!
If you want to up your game in creating more difficult escape rooms, get inspired by these other blog posts!
===================================
Find out more about why Deck.Toys is all about Learning Paths for Lesson Adventures!
Sign up for free here: https://deck.toys/getstarted
Join thousands of other teachers in our Facebook community to share lesson creation ideas for your students: https://www.facebook.com/groups/decktoys
Connect with Deck.Toys on Twitter, Facebook, TikTok and Instagram!
